Brewing · Volume 6
Vol 6 — Tier 2: Partial Mash
Tier-1 (Vol 5) got you brewing five gallons of good beer on a stovetop with malt extract. Tier-2 is the bridge to all-grain: you keep the extract as a safety net but begin mashing some of your own grain, you move to a full-volume boil on a dedicated heat source, you add a wort chiller for fast cooling, and — most importantly for quality — you gain real fermentation-temperature control. None of these is exotic; together they close most of the gap between “kit beer” and “I made this from scratch.”
6.1.1 What Tier-2 Means
Three upgrades define Tier-2, and each removes a specific Tier-1 limitation:
- The full-volume boil. A bigger kettle (7.5–10 gal) and a propane burner (or strong electric element) let you boil the entire batch instead of boiling concentrated wort and diluting. This improves hop utilization, gives better color, and avoids the slight extract “twang.”
- The partial (mini) mash. You mash 1–3 lb of your own grain alongside the extract — a real mash (Vol 3 §3.3), at low stakes. It’s how you learn mashing before committing to all-grain (Vol 7).
- Controlled fermentation. A wort chiller cools the full batch fast, and a fermentation chamber (a fridge/freezer + a plug-in controller) holds the yeast at the right temperature — the single biggest flavor lever there is (Vol 2 §2.4).
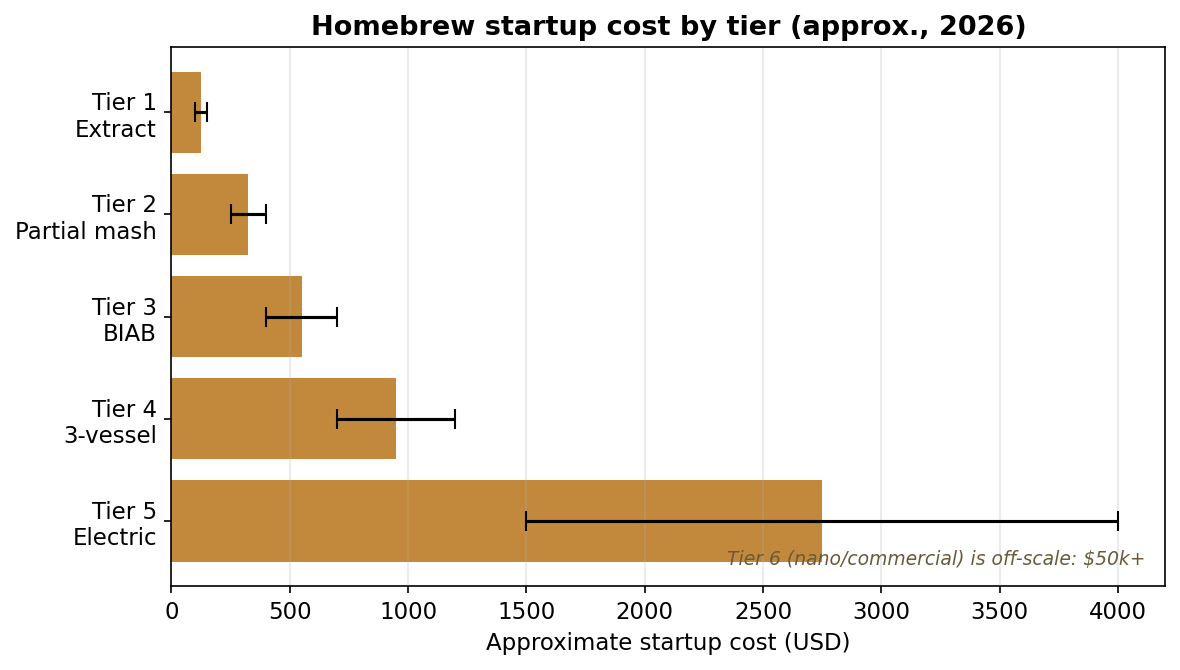
Cost rises accordingly, but stays firmly in hobby territory:
6.1.2 The Vendor Landscape
Tier-2 is a set of additions to the Tier-1 kit. Four upgrade paths. (Prices approximate, 2026.)
- Path A — Full-boil hardware (the core upgrade). A 10-gallon stainless brew kettle (e.g. Bayou Classic, ~$130–180) + a propane burner (Bayou Classic SP10, ~$50, ~185k BTU) + an immersion wort chiller (25 ft of ½″ copper, ~$60–90). This trio enables the outdoor full boil.
- Path B — Mashing capability. A 5-gallon insulated cooler converted to a mini-mash tun (~$40, or DIY from a drink cooler) or simply a large nylon grain bag; plus partial-mash ingredient kits.
- Path C — Fermentation temperature control. A used refrigerator or chest freezer (often free–$200 used) + an Inkbird ITC-308 dual-stage controller (
$25–35) makes a fermentation chamber; the budget alternative is a “swamp cooler” (fermenter in a water bath). Add a better fermenter — a glass carboy ($35), a Better Bottle PET carboy (~$30), or a 6.5-gal bucket. - Path D — Buy it as a bundle. Many shops sell a “next-step” upgrade bundle; some brewers instead jump straight to an electric kettle here (foreshadowing Tier-5, Vol 9).
6.1.3 Costed Bill of Materials
Incremental over the Tier-1 kit (Vol 5 §5.3). Prices approximate, 2026.
Table 1 — 6.3 Costed Bill of Materials
| Item | ~Price |
|---|---|
| 10-gallon stainless brew kettle | $150 |
| Propane burner (Bayou Classic SP10) | $50 |
| Immersion wort chiller (25 ft copper) | $75 |
| Mini-mash tun (5-gal cooler) or large grain bag | $40 |
| Glass carboy / Better Bottle (6.5 gal) | $35 |
| Inkbird ITC-308 temperature controller | $30 |
| Used fridge or chest freezer (fermentation chamber) | $0–200 (used) |
| Incremental subtotal | ~$380–580 |
The core full-boil trio (kettle + burner + chiller) is ~$275; temperature control is the rest. You can stage these purchases — many brewers add the chiller and temperature control first, since they help every batch.
6.1.4 Assembly and Setup
- The fermentation chamber. Set the fridge/freezer’s compressor to “on,” plug it into the Inkbird’s cooling outlet, put a small heater (or none) on the heating outlet, drop the temperature probe taped to the fermenter (or in a thermowell), and set your target. This is the highest-value build in all of homebrewing.
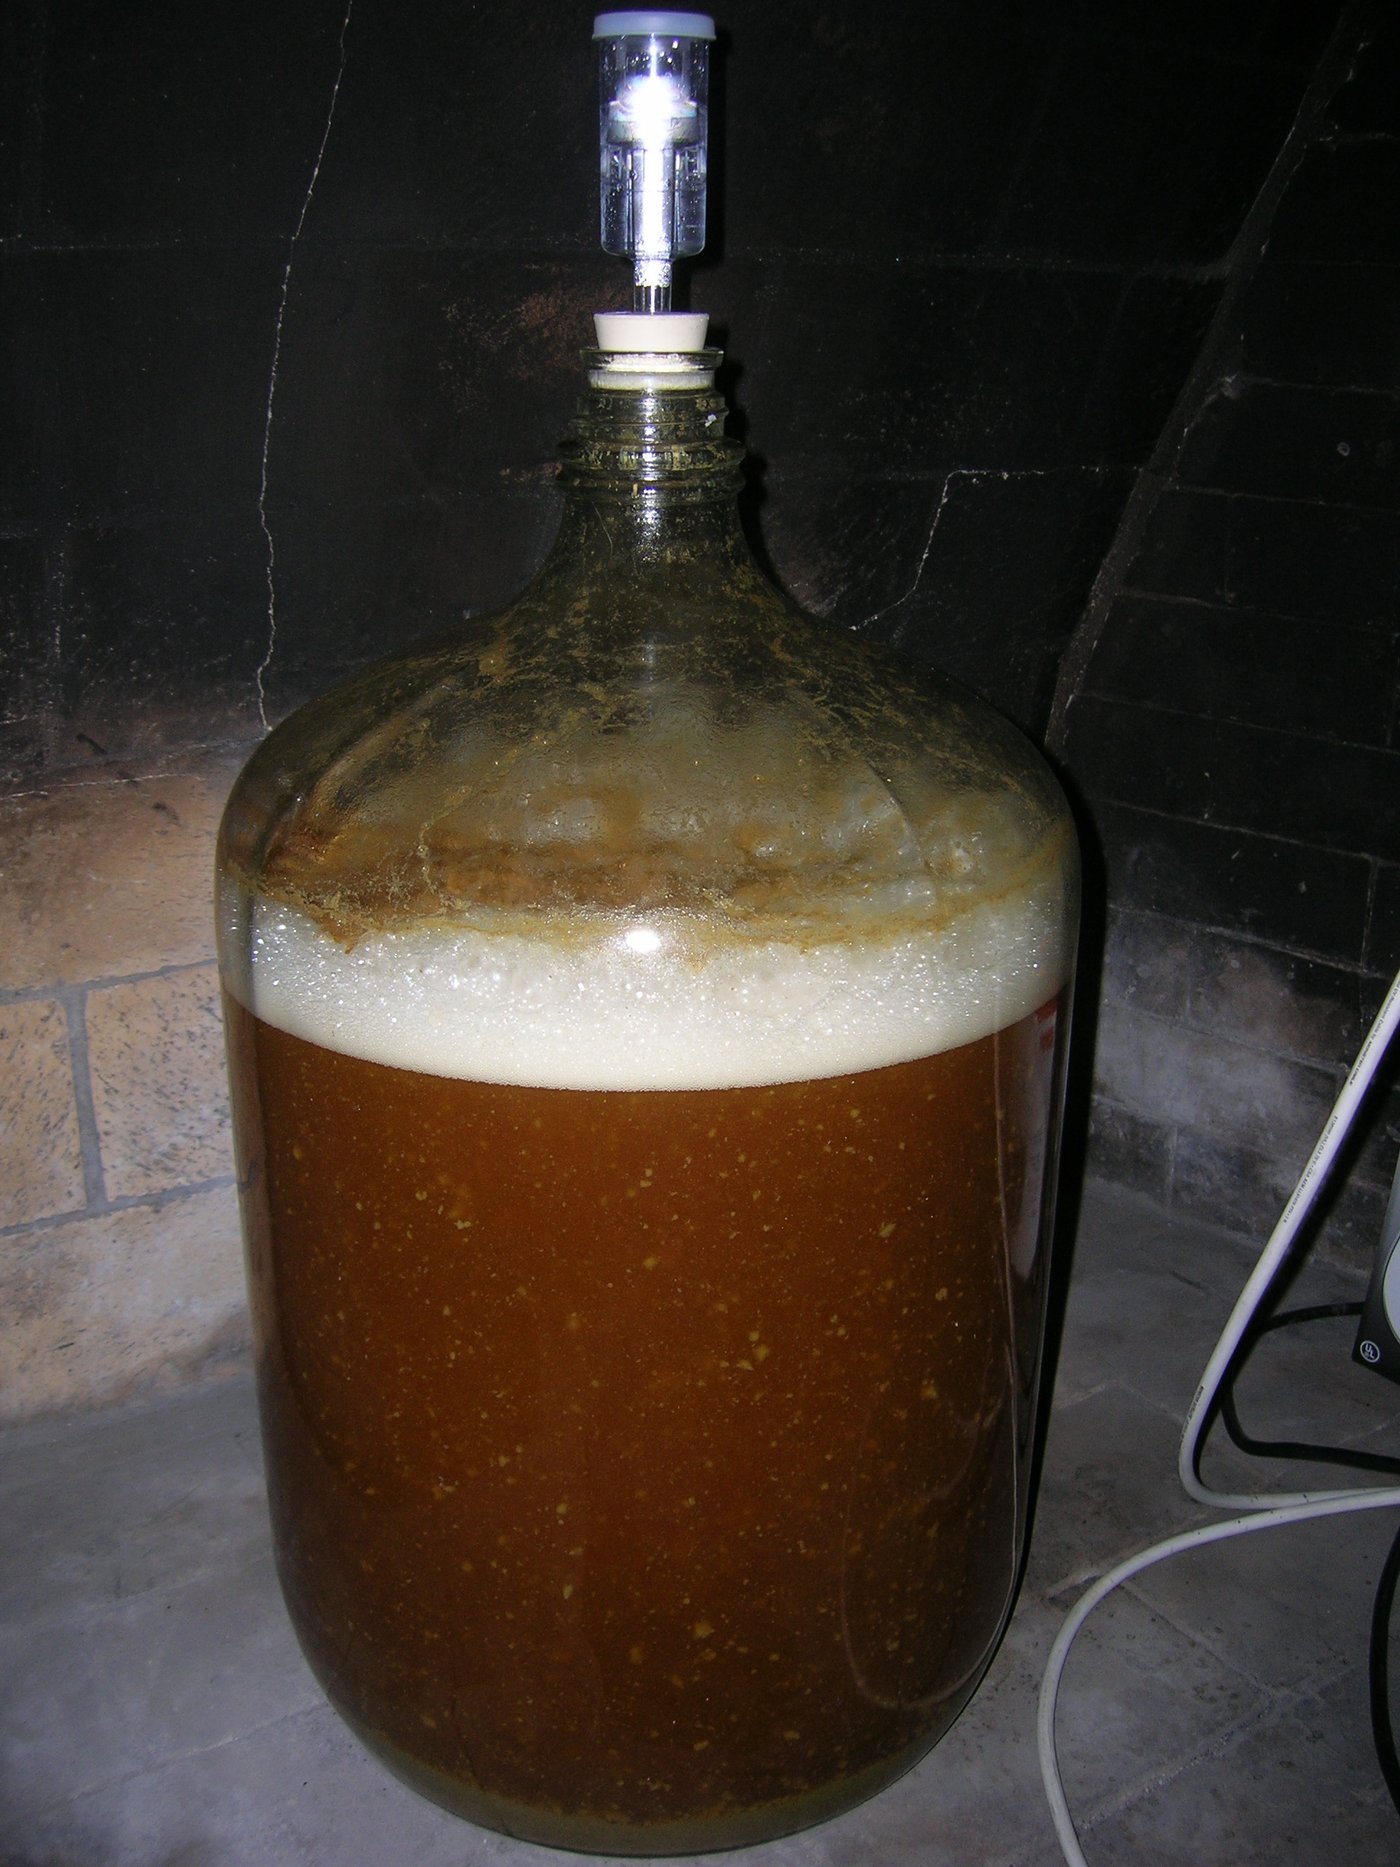
- The fermenter. Sanitize the carboy/Better Bottle as always (Vol 5 §5.4). PET (Better Bottle) is lighter and won’t shatter; glass is scratch-proof and impermeable — pick your trade-off.
6.1.5 Step-by-Step Brew Day

- Mini-mash. Mash 1–3 lb of base/specialty grain in a bag or small cooler at ~152 °F for 45–60 minutes (Vol 3 §3.3). Preheat the cooler with hot water so the temperature holds.
- Rinse and combine. Lift the grain and rinse it with ~170 °F water (don’t exceed 170 °F — tannins) to recover sugar. Top the kettle up to the full pre-boil volume (~6.5 gal) and stir in the malt extract off the heat.
- Full boil. On the burner, boil the entire volume for 60 minutes with the hop schedule (Vol 3 §3.5). A full kettle needs watching at the hot break — keep it below ~75% full.
- Chill. With ~15 minutes left in the boil, drop the immersion chiller into the wort to sanitize it; at flameout, run cold water through it to cool the full batch to ~68 °F in minutes (Vol 3 §3.6).
- Ferment, controlled. Transfer to the sanitized fermenter, take an OG reading, pitch yeast, and place it in the temperature-controlled chamber at the yeast’s ideal temperature. Confirm completion with steady gravity readings (Vol 3 §3.7), then package as in Vol 5 §5.5.
6.1.6 Common Pitfalls and How to Avoid Them
- Mini-mash temperature drift. A cold cooler or kettle drops the mash out of range. Fix: preheat the vessel; check temperature after dough-in and adjust with a splash of boiling/cold water.
- Sparge water too hot. Above ~170 °F extracts husk tannins (astringency). Fix: keep rinse water at 168–170 °F.
- Forgetting to sanitize the chiller. It goes into the wort, so it must be sanitary. Fix: immerse it for the last 15 minutes of the boil — the boil sanitizes it.
- Boil-overs in a fuller kettle. Fix: don’t fill past ~75%; watch the hot break; keep heat controllable.
- Having temperature control and not using it. The chamber only helps if you set it correctly and pitch in range. Fix: pitch at or just below target; let the controller hold it.
- Oxidation on transfer. Splashing finished beer picks up stale-making oxygen. Fix: gentle siphoning; fill from the bottom.
6.1.7 Where Tier-2 Leaves You; What Tier-3 Adds
At Tier-2 you’ve done a real mash, boiled full-volume, chilled fast, and fermented at a controlled temperature — you’re making beer indistinguishable in quality from many all-grain brewers, and you understand every step. The remaining limitation is that you’re still buying most of your sugar as extract (the priciest ingredient — Vol 5 §5.1) and only mashing a token amount.
Tier-3 (Vol 7) takes the obvious next step: drop the extract entirely and mash the whole grain bill in a single vessel using a bag — brew-in-a-bag (BIAB). It needs almost no new equipment over Tier-2, unlocks full control of the recipe, and drops ingredient cost to its floor. It’s the most popular way to brew all-grain.
Cross-references: the mash science is Vol 3 §3.3; fermentation control is Vol 2 §2.4 and Vol 3 §3.7; the equipment you carry forward came from Vol 5; Tier-3 BIAB is Vol 7.
Comments (0)